How to use iOS 17's Personal Voice feature on an iPhone
Prior to this past Sunday’s International Day of Persons with Disabilities, Apple unveiled a brief video showcasing its Personal Voice accessibility feature, which was first introduced in iOS 17 earlier this year. With Apple’s Live Speech tool and compatible apps, users can record digital versions of their voices for use on calls using Personal Voice.
Not sounding like yourself can be another kind of identity loss for people who are at risk of losing their voice permanently due to illnesses like Parkinson’s disease, multiple sclerosis, ALS, and vocal cord paralysis. The worry that you’ll never feel like yourself again or that your loved ones won’t know what you sound like may be lessened if you can record your voice while you’re still able to.
Users of iOS 17, iPadOS 17, and macOS Sonoma can all create a personal voice for future use, whether it be short-term or long-term.
Make sure you have a window of approximately thirty minutes before you begin the process. It might take some time for you to record 150 sentences, depending on how quickly you speak. Additionally, locate a peaceful area with little background noise, then settle in. Additionally, make sure your phone has at least 30% battery life and keep a cup of water close by.
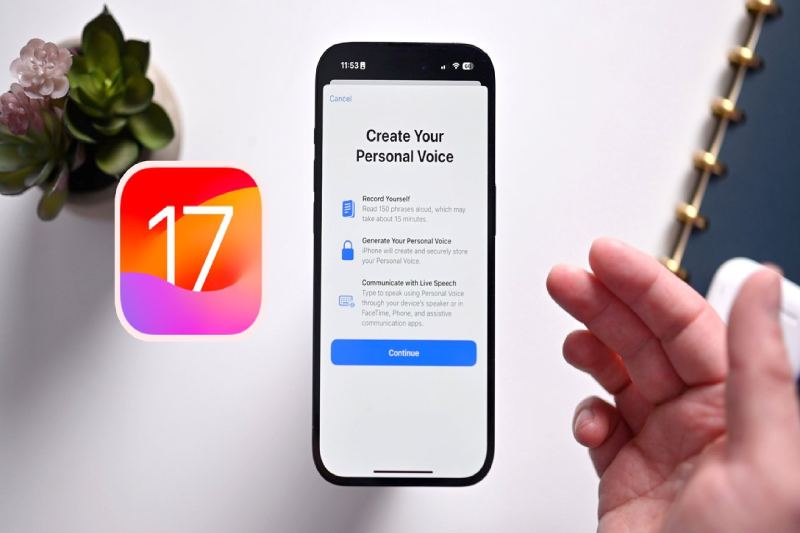
When you’re ready, open Settings, navigate to Accessibility > Personal Voice (under Speech), and select the Personal Voice menu. When you choose Create A Personal Voice, Apple will provide you with an overview of the process. Once you click “Continue,” you’ll see prompts like “Find a quiet place” and “Take your time.”
One of the most important tips is to “Speak naturally.” To “read aloud at a consistent volume, as if you’re having a conversation,” Apple advises users. Before you can begin reading prompts, there’s one last step to complete on this page after you tap Continue. During this step, your phone will use its microphone to determine how loud the background noise is.
The way the recording process is laid out is quite clear. Press the large red record button located at the bottom of the page, then speak the words that are in the center. You have the option to select “Continuous Recording” or “Stop at each phrase” beneath the record button.
The legal industry is more competitive than ever. Prospective clients no longer flip through phone… Read More
A Complete Summer Skincare Guide by Blossom Kochhar Aroma Magic Summer is not just a… Read More
The United Arab Emirates has emerged as a global hotspot for luxury travel, attracting visitors… Read More
Google is introducing the standalone Gemini Enterprise app for Android, which will deliver its corporate-grade… Read More
Digital payments have changed how we handle money. Whether you are paying for a small… Read More
Taking care of your health and well-being doesn’t have to mean dramatic changes or strict… Read More
